Simulation of the Robot#
A MuJoCo-based simulation environment for the Svan M2 Metal quadruped robot. This codebase provides a physics simulation setup for testing gaits, kinematics, and control pipelines safely on a workstation.
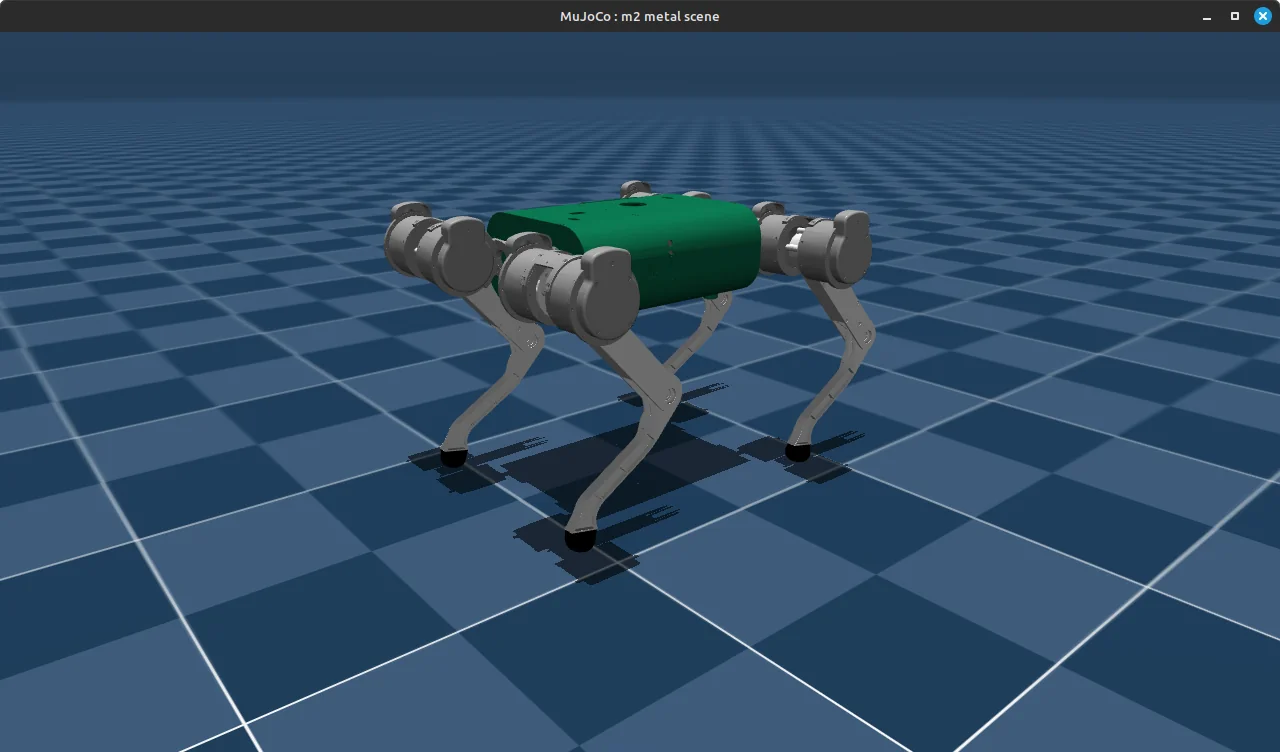
Svan M2 Simulation in MuJoCo#
Package & Setup#
Download the simulation package archive:
Download Link: m2_sim.zip (Google Drive)
Extract the archive onto your workstation:
mkdir -p ~/m2_sim
cd ~/m2_sim
unzip ~/Downloads/m2_sim.zip
Install the packages necessary to view the MuJoCo simulator
sudo apt update
sudo apt install -y libglfw3 libglfw3-dev
Running the Simulation#
The launcher script starts all simulation processes automatically inside a unified tmux session.
From the m2_sim directory, run:
chmod +x m2_launch.sh   # Only needed once
./m2_launch.sh
This launches the following processes in order across separate tmux windows:
Window |
Name |
Process Executable |
Description |
|---|---|---|---|
Window 1 |
Physics Simulator |
|
MuJoCo visualizer & physics environment |
Window 2 |
Joystick Multiplexer |
|
Teleoperation input arbitration |
Window 3 |
Keyboard Interface |
|
Terminal keyboard teleoperation (default landing window) |
Window 4 |
Motion Controller |
|
Onboard kinematics & gait controller |
Window 5 |
Help Screen |
— |
Control references and diagnostics |
You will land automatically on the Keyboard Interface window (Window 3).
Session Controls#
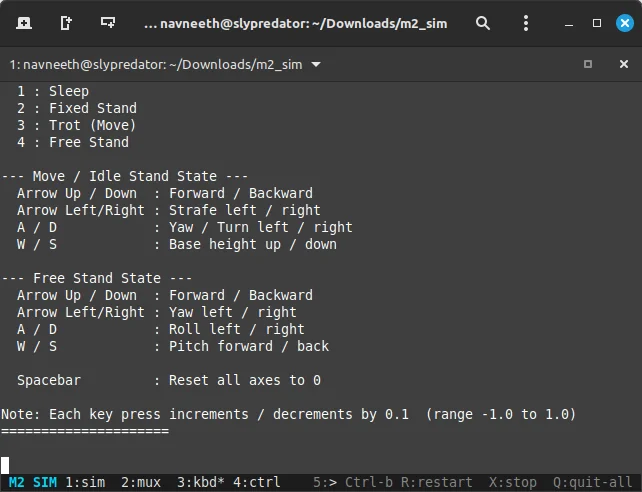
Simulation Terminal#
Launcher CLI Options#
The m2_launch.sh script provides utility flags for session management:
./m2_launch.sh --setup     # Only add library paths to ~/.bashrc
./m2_launch.sh --kill      # Kill a running simulation session
./m2_launch.sh --status    # Check if a simulation session is running
./m2_launch.sh --help      # Show usage help
Keyboard Teleoperation#
Use Window 3 (keyboard_interface_dds) to control the robot. Each arrow or key press increments or decrements the corresponding axis by 0.1 (operating range: -1.0 to 1.0).
State Transitions#
Key |
Robot State |
|---|---|
1 |
Sleep (Prone rest position) |
2 |
Fixed Stand (Rigid standing pose) |
3 |
Trot (Move) (Dynamic walking / trotting gait) |
4 |
Free Stand (Attitude adjustment pose) |
Move & Trot Controls#
Key |
Movement |
|---|---|
↑ (Up Arrow) |
Move forward |
↓ (Down Arrow) |
Move backward |
← (Left Arrow) |
Strafe left |
→ (Right Arrow) |
Strafe right |
A / D |
Yaw / Turn left / right |
W / S |
Base height up / down |
Spacebar |
Reset all axes to 0 |
Free Stand Controls#
Key |
Movement |
|---|---|
↑ (Up Arrow) |
Move forward |
↓ (Down Arrow) |
Move backward |
← (Left Arrow) |
Yaw left |
→ (Right Arrow) |
Yaw right |
A / D |
Roll left / right |
W / S |
Pitch forward / back |
Spacebar |
Reset all axes to 0 |
Adding Payloads#
Payloads are rigid bodies attached to the robot’s base chassis. The payload subsystem consists of two components:
config/payload_config.yaml: Defines physical payload properties.inject_payloads.py: Writes those payload bodies into the MuJoCo XML model.
Payload Configuration#
Edit config/payload_config.yaml:
payloads:
  - name: "box_payload"       # Unique name for the payload body
    mass: 10.0                # Mass in kg
    pos: [0.0, 0.0, 0.13246] # [x, y, z] position relative to robot base origin (m)
                              # Note: Torso top surface is at z ~0.057 m,
                              # so pos.z should be strictly above this value
    inertia: [0.00375, 0.00375, 0.00375]  # Diagonal inertia tensor [Ixx, Iyy, Izz] (kg*m^2)
    size: [0.075, 0.075, 0.075]           # Box half-extents (m); full side = 2 x size
    rgba: [0.8, 0.2, 0.2, 0.8]           # [r, g, b, alpha] visual color
To add multiple payloads, append additional entries under
payloads:.To temporarily disable a payload without deleting it, comment it out with
#.
Warning
Keep controller model in sync:
config_m2_metal.yaml also contains a payload section that must match payload_config.yaml so the physics simulator and the motion controller model agree on total mass and inertia:
payload:
  enabled: true              # Set to true to activate payload compensation in the controller
  mass: 10.0                 # Must match payload_config.yaml mass
  pos: [0.0, 0.0, 0.13246]   # CoM position relative to base (m)
  com: [0.0, 0.0, 0.13246]   # Center of mass
  inertia: [0.00375, 0.0, 0.0,
            0.0, 0.00375, 0.0,
            0.0, 0.0, 0.00375]  # Full 3x3 inertia tensor (kg*m^2)
### Model Injection

Install PyYAML if not already available:

```bash
pip install pyyaml
Run the injection script from the m2_sim root directory:
python3 inject_payloads.py
The script locates the <!-- PAYLOAD_INJECT_HERE --> marker inside m2_metal.xml and replaces existing injected elements with fresh bodies from payload_config.yaml. The script is idempotent and safe to run after every configuration edit.
Optional Custom Paths: You can also supply explicit paths via CLI arguments:
python3 inject_payloads.py \
    --xml path/to/m2_metal.xml \
    --config path/to/payload_config.yaml